Using the Namalysator > Structure
The aim of this tab is to assist you in determining whether the METS files have an appropriate logical structure. In our example, it means to check whether the zoning of articles and sections was done correctly.
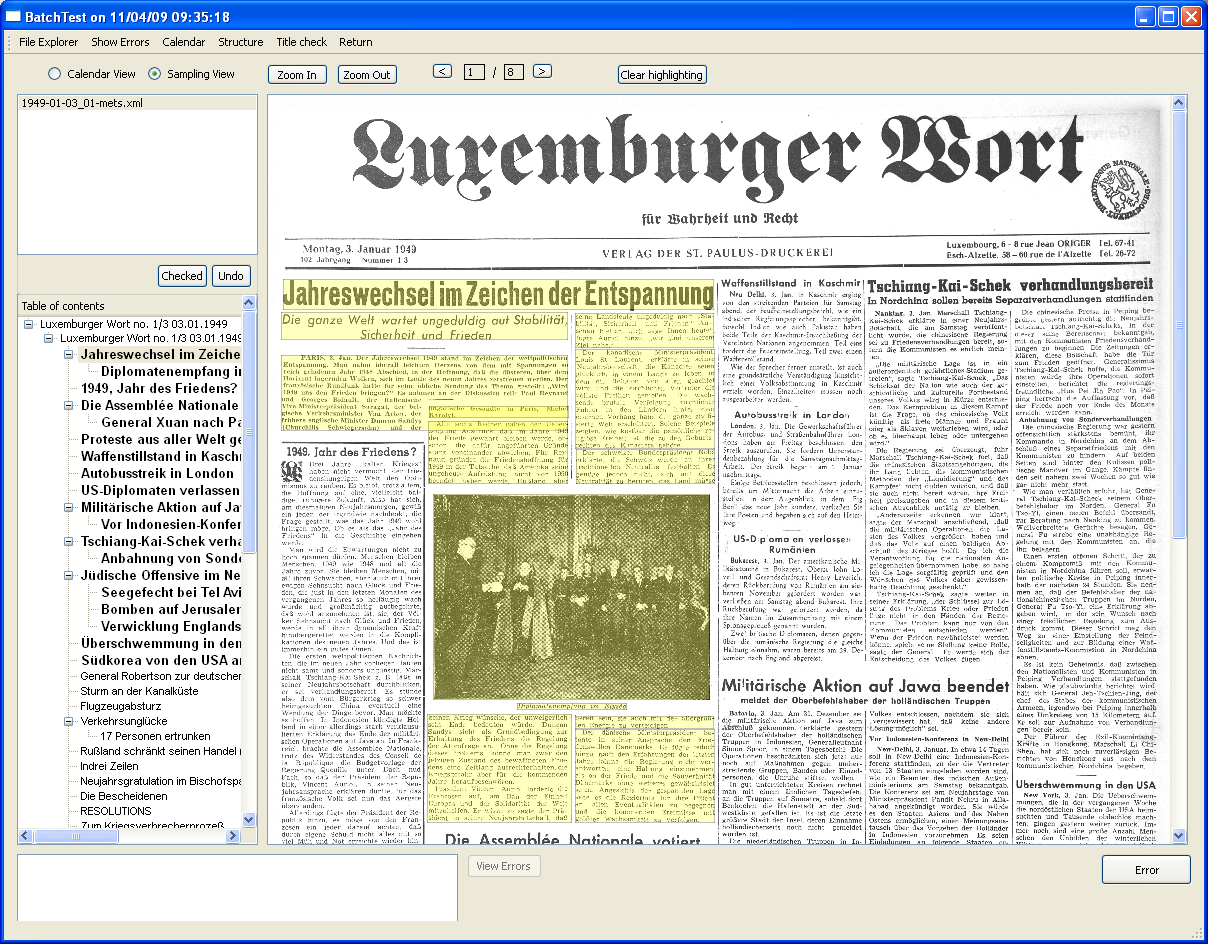
At the top of the screen, you select whether you want a calendar view or the sampling view. The calendar view gives you access to all the METS files in your batch. The sampling view gives you access to only the issues that are in the sample that has been randomly taken out of the complete batch. The number of METS files in the sample is determined by the total number of METS files in the batch and by the number specified in the &lgt;sampling> tag in the config.xml.
There are zoom buttons and a page turner as well on the top of the screen.
On the left hand side is a table of contents from the logical structure of the METS. You can click on the article or section titles and the right hand side will display the appropriate page and will highlight the article in yellow. The articles on the current page are displayed in bold. If you see a zoning error, click on "Error" to bring up the zoning error detail screen. Be sure to include everything that you need in the current view, as further work will take place on a screenshot. If everything is OK, you can click on the top left on "Checked" and the file will be marked as done.
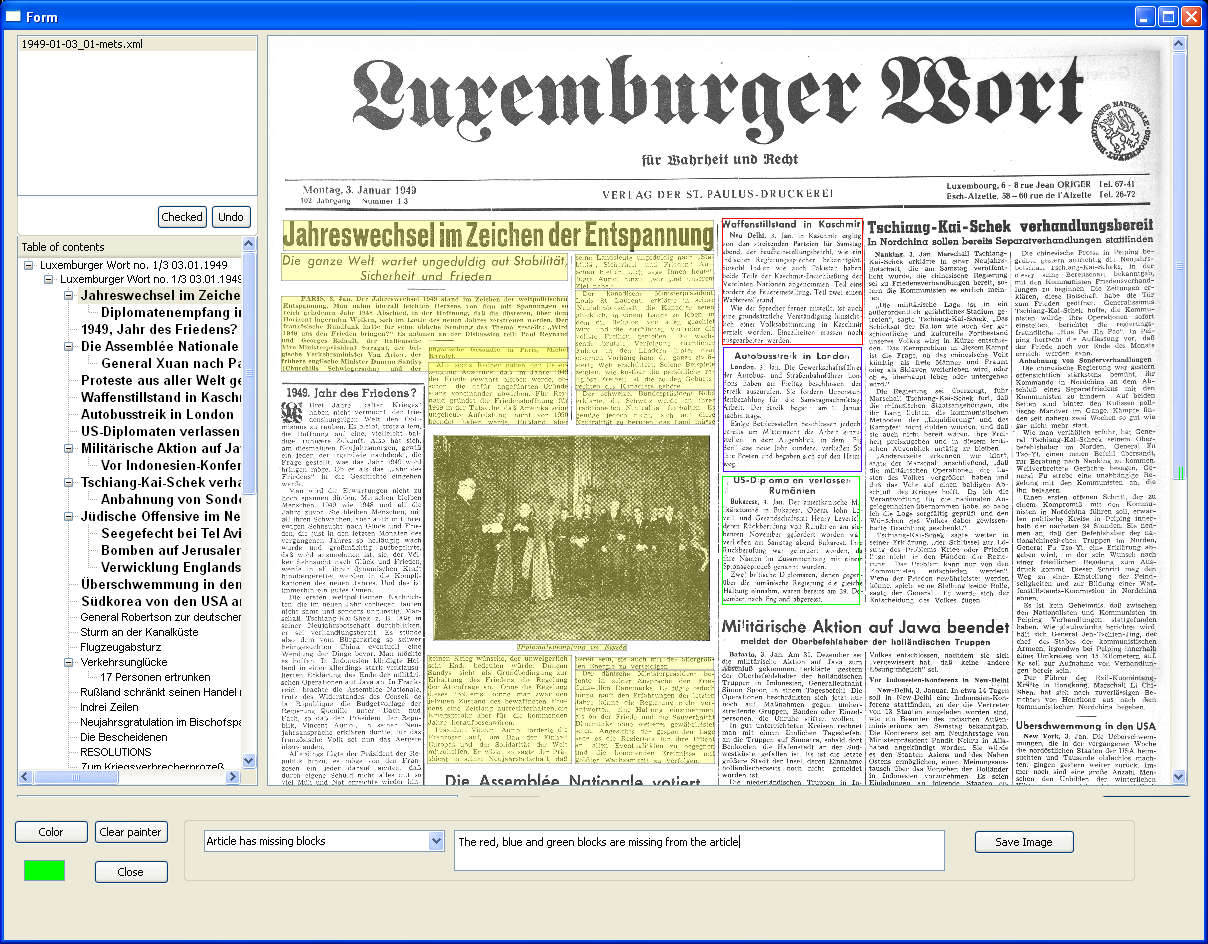
This screen presents a screenshot of the main screen. So the table of contents is not active anymore. Its use is to mark articles or blocks in color to highlight mistakes that have been made. You can paint a rectangle using a left-click and then keeping the mouse pressed to drag to the end point of the rectangle. The colour can be chose by pressing the button "Color". If you'd like to start over, you can use the button "Clear painter", which will delete all the rectangles that you have painted onto the screenshot.
The combobox allows you to specifiy which kind of problem you are describing. The textbox next to it is meant for additional information that you can enter as free text. When you click on "Save Image", the error is saved in the database and the image is saved in a subfolder of the installation directory called "ErrorImg". When you are done, you can exit this screen by closing the window.
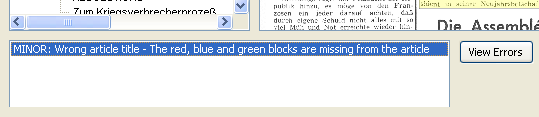
Now in the main screen the button "View errors" is not greyed out anymore. If you click this, a HTML page with all the errors found for this batch will be generated. This HTML page can then be sent to the people working on the structuring so that errors will be corrected.
Using the Namalysator > Structure